User Tools
Site Tools
Sidebar
Poser Props
A tutorial by Kagi.
Note: This tutorial has been made in Hexagon 1.2, but works the same in Hexagon 2.
This tutorial is based on Poser 6 and Aiko 3 from DAZ. You won’t find the steps to create the model itself, but you will know how it works to create your own Props!
The Steps
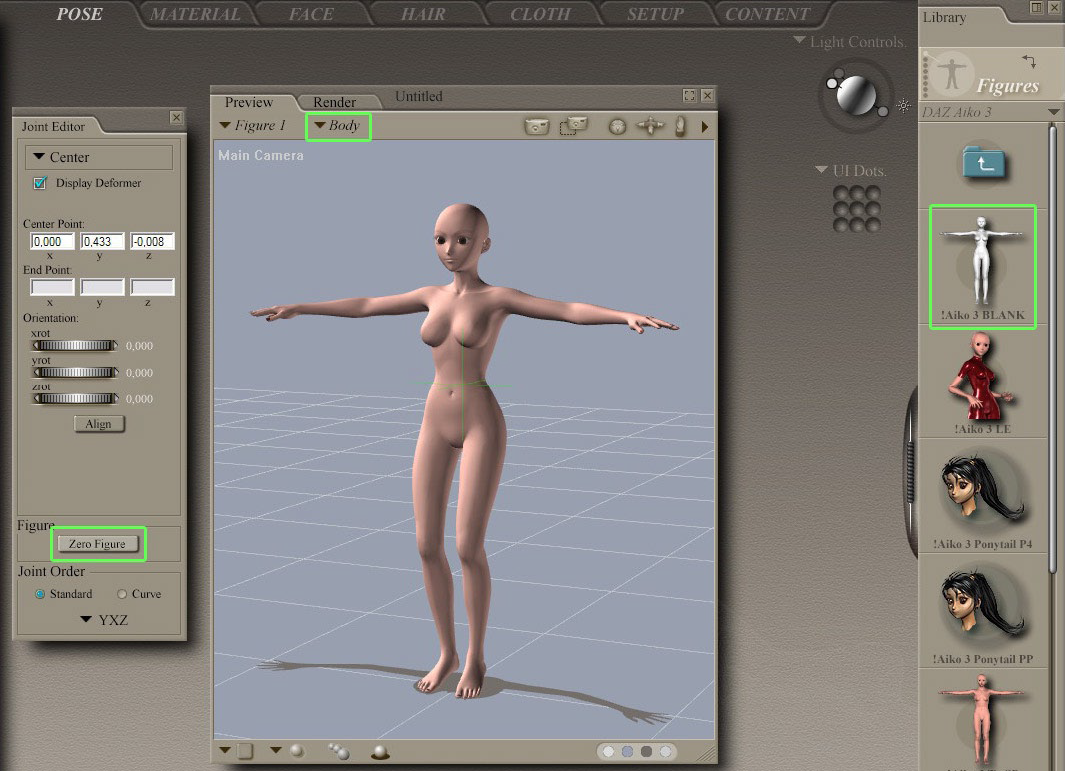
To create a Prop, it’s not necessary to import any character, but in some case, it’s better. (ie: jewelry, glasses, etc.). To import the character, we follow the same method as for the clothes creation tutorial.

Then we create the prop. For the textures, we use the same method as for the clothes creation tutorial, using the shading domains. But it’s not necessary to cut the object because it will not be articulated.
Tip: using the morph target we can easily create some variants.
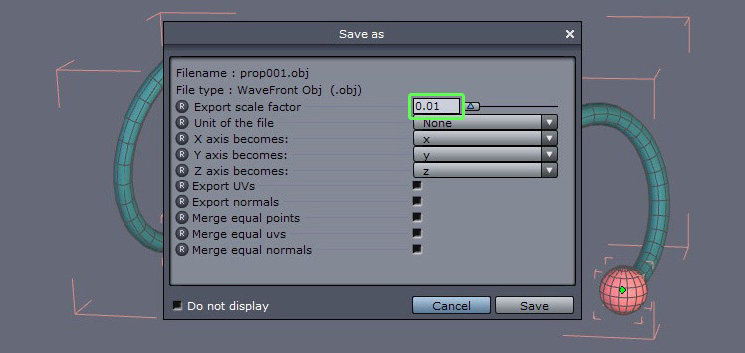
Export the model, and don’t forget to change the scale if you did it when you imported the model.

In Poser, we load the desired character and then we import the prop.
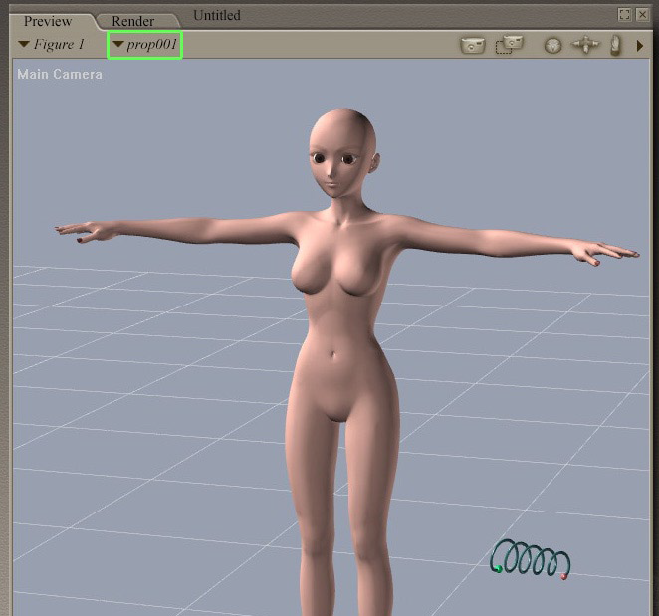
Then we need only to move it.
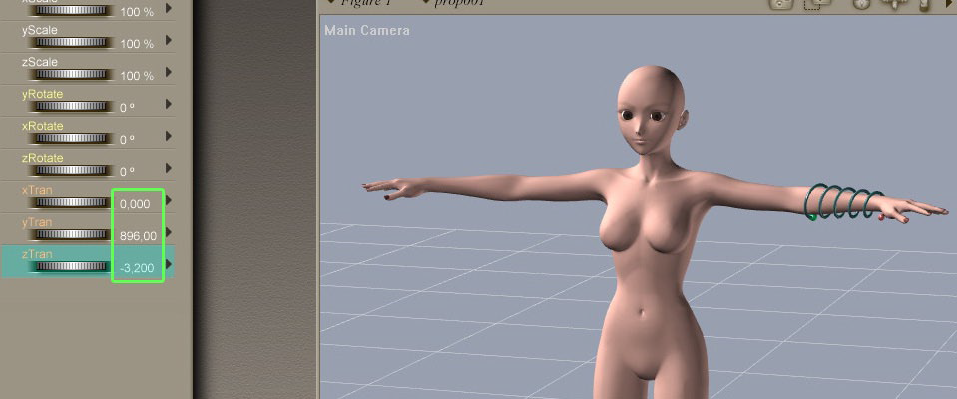
The coordinates are the same that we used for the clothes.
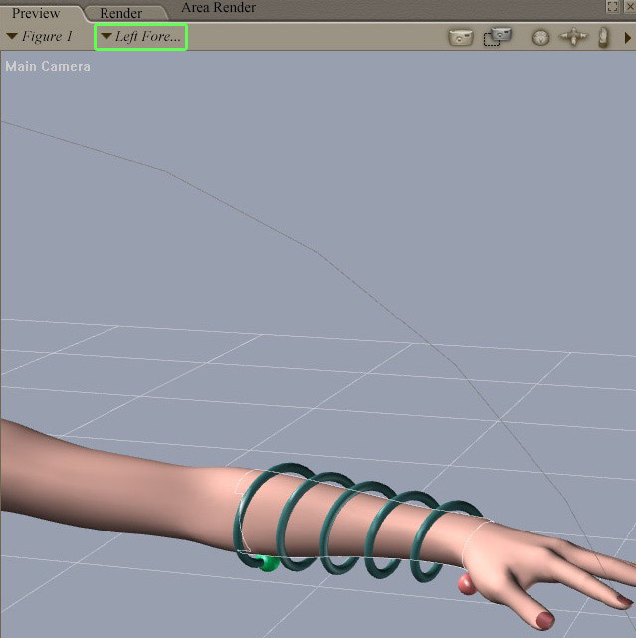
The prop only needs to follow the movements of the characters. Then depending on its position, we note the corresponding body part
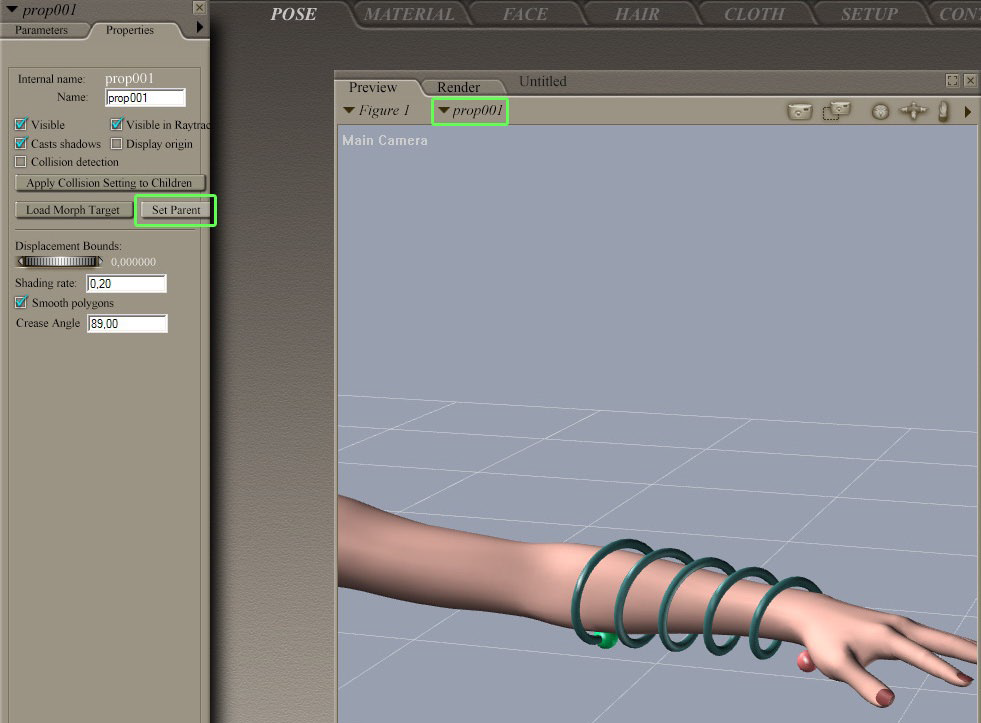
In the properties we will choose it as “parent”.
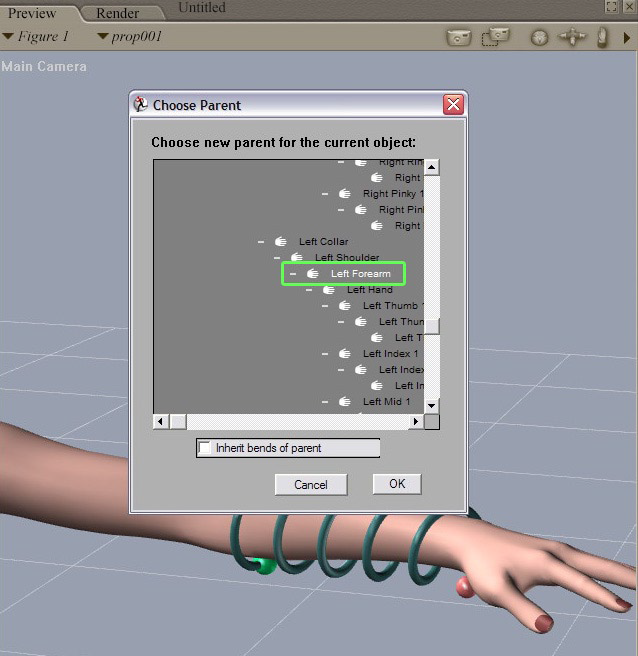
And choose the body part as the parent.

Now, your Prop is connected to your character, ready to be Pose or animate!
Page Tools
Except where otherwise noted, content on this wiki is licensed under the following license: CC Attribution 3.0 Unported
