User Tools
Site Tools
Sidebar
Poser Clothing
A tutorial by Kagi.
Note: This tutorial has been made in Hexagon 1.2, but works the same in Hexagon 2.
This tutorial is based on Poser 6 and Aiko 3 from DAZ. But it will work with any Poser version and Poser / DAZ characters!
You won’t find the steps to create the model itself, but only the way to create clothing!
The Steps
Preparing the Poser Model
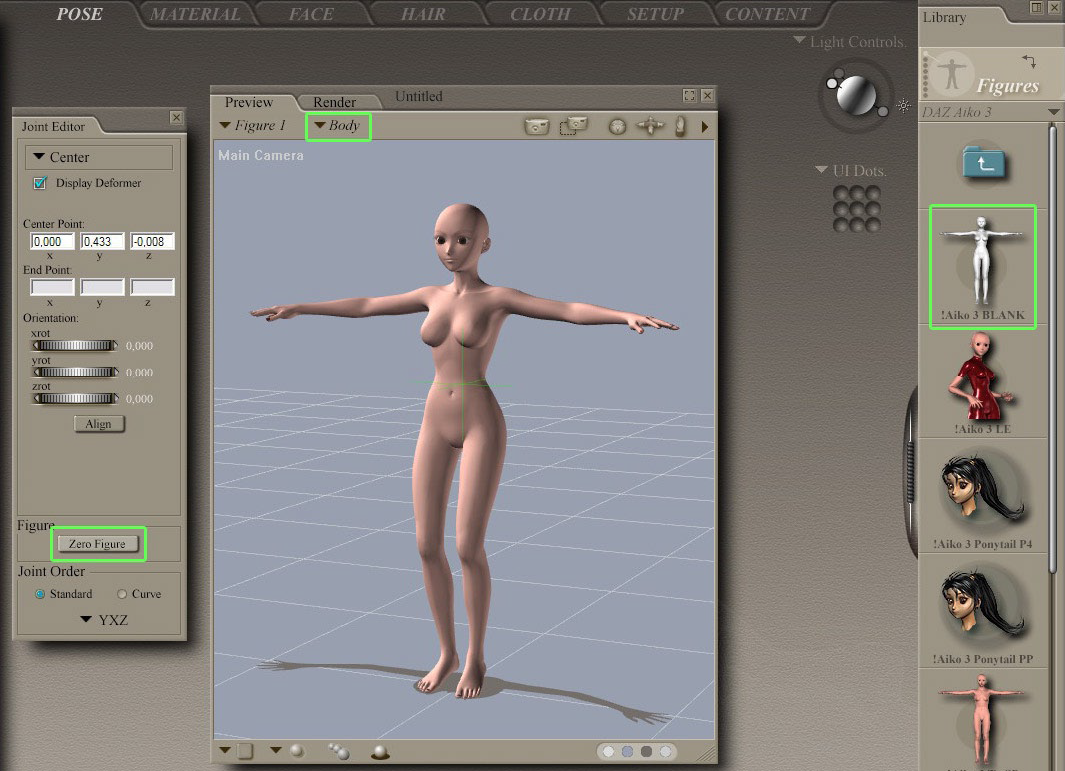
We load the character and we apply the “zero position” to it, in other words all the parts of the body must be at a zero position. One easy method is to open the “Joint Editor” (Window > Joint Editor), and to click on “zero figure”.
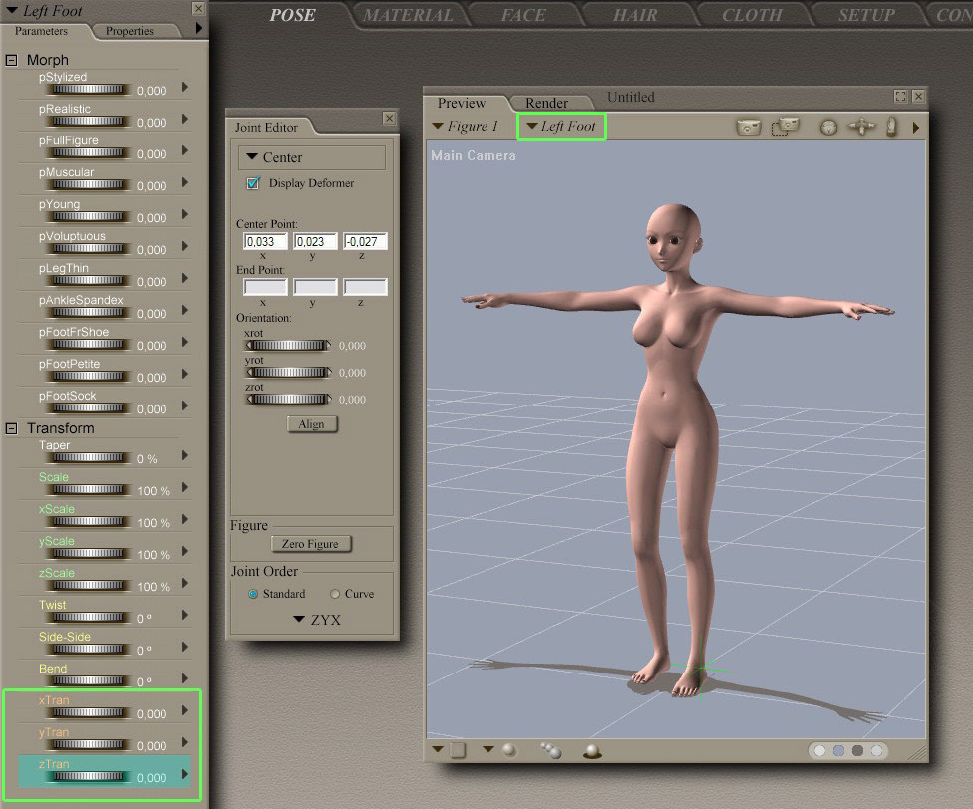
All the body parts are now at zero. We just need to move the feet now.

Now, the model is ready to export!
Export the Model From Poser to Hexagon
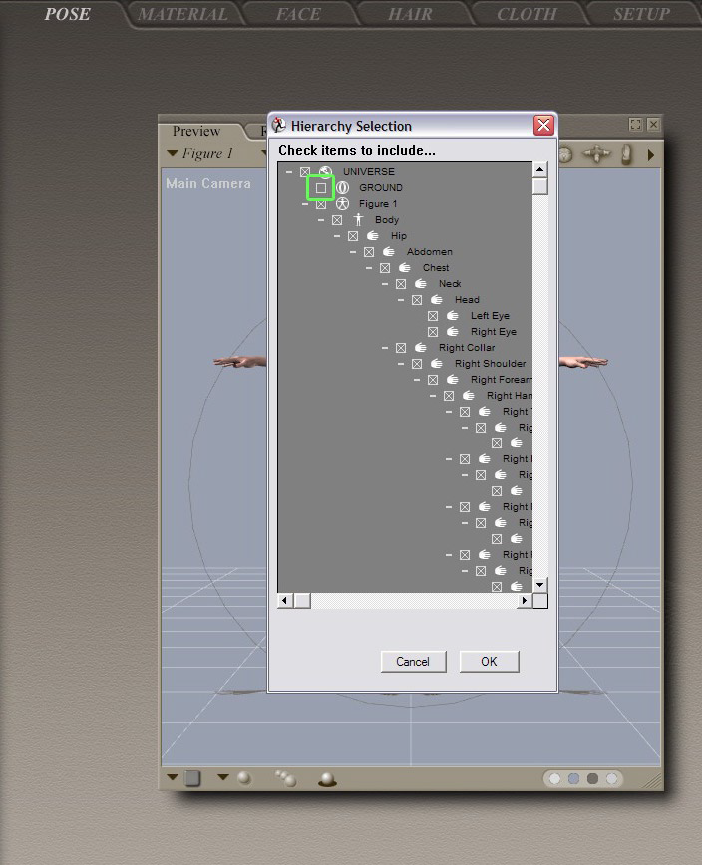
Then we export the character in .obj format (Wavefront). In the “Hierarchy Window” we uncheck “Ground”.

We can export it with default export settings.
Import the Model in Hexagon
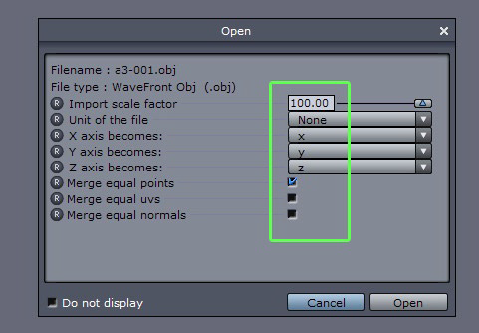
Now we switch to Hexagon 2. We import the character, and we choose a scale of 100.
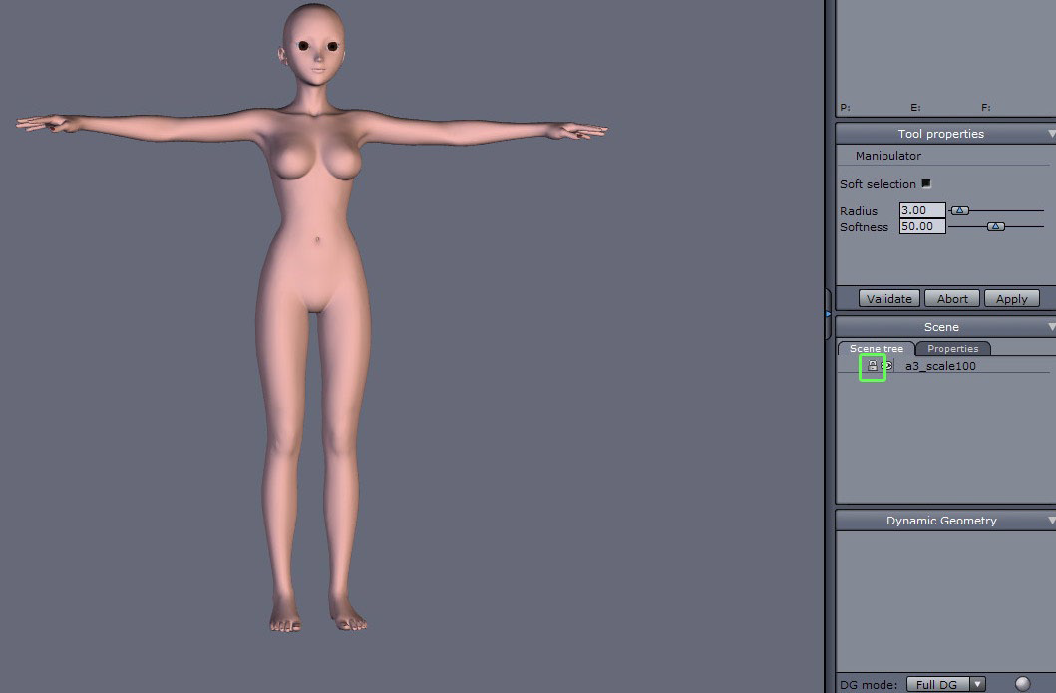
The character loaded, we can rename it, lock it, and save it!
Now create the model following your own method.
Preparing the Model

To define the textures, we use the “shading domain”. We select all the faces (or object) to apply a domain to it.
Tip: once the domain is created, we have to change the color, to avoid getting some bugs in Poser later.
We also verify the orientation of the normals of each objects, it can avoid bugs in Poser later too.
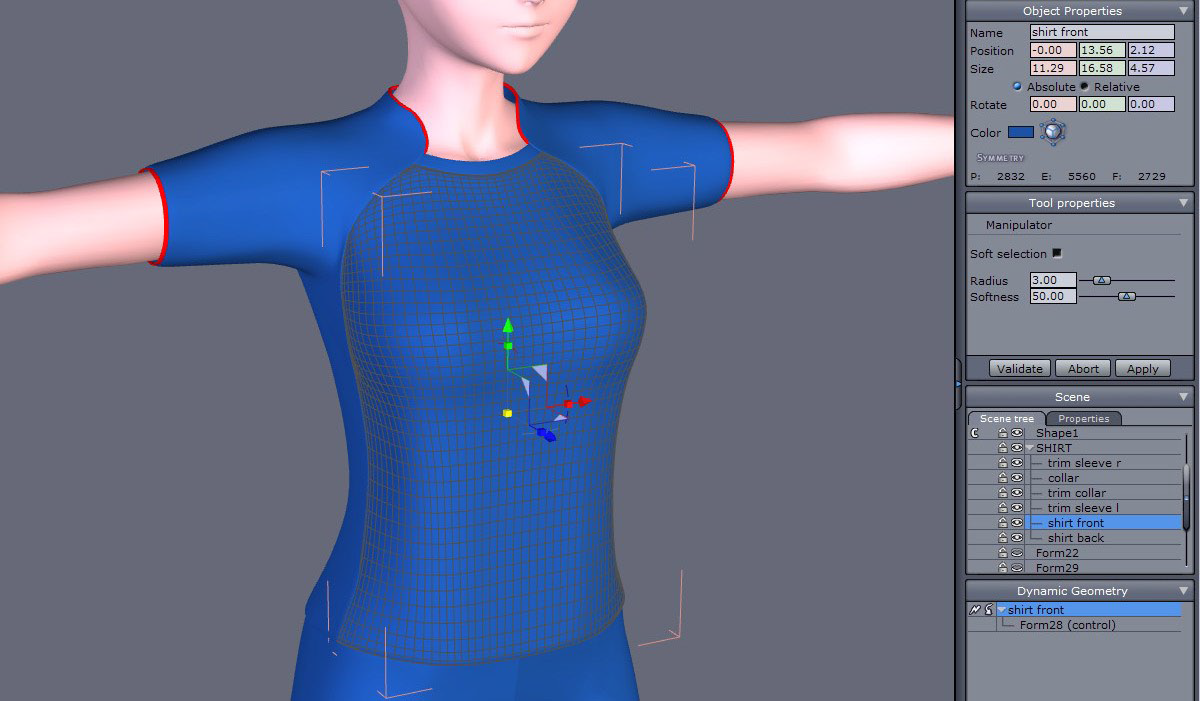
Once the clothing is modeled, the material domains applied, and the normals verified, we weld all the elements composing the clothing.

Now we will do the separation of each part of the clothing which will correspond to the parts of the character’s body.
We use the Extract tool to cut the clothing (or do Cut Paste).

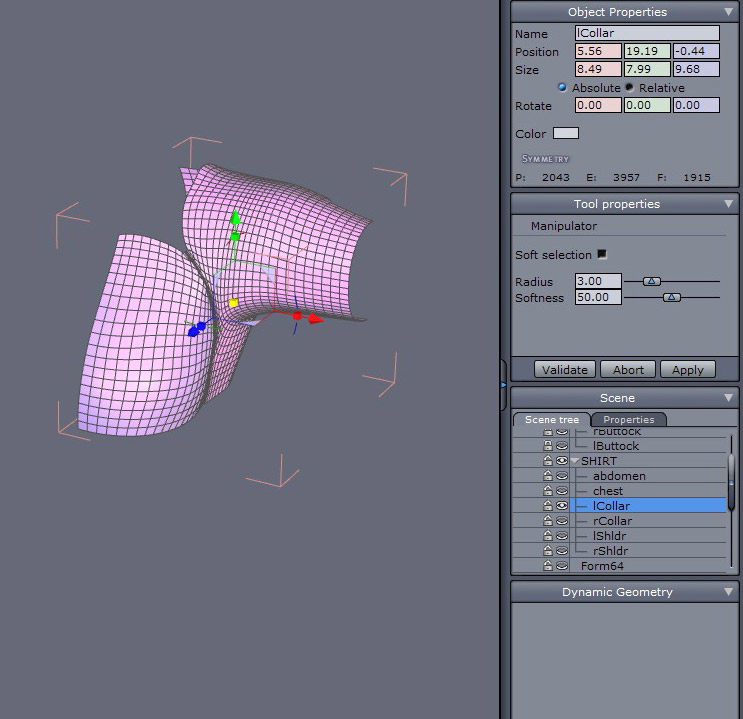
To cut the clothing, we look at the groups of the character in Poser. Once this is done, we rename each part with the name corresponding to the body part of the character (abdomen, chest, etc.). We can use the “Group Editor” in Poser so we know the exact names, as it is important to keep the caps. We verify the normals again, as they may have changed.
Export the Model From Hexagon to Poser

Once the clothing is correctly split and its part renamed, we can export it. We choose the .obj format and we restore the export scale to 0.01.

Now, go back to Poser, load the character and import the clothing. Uncheck “Percent of standard figure size”, like this, so the clothing will have the correct scale. You can keep “Centered” checked.
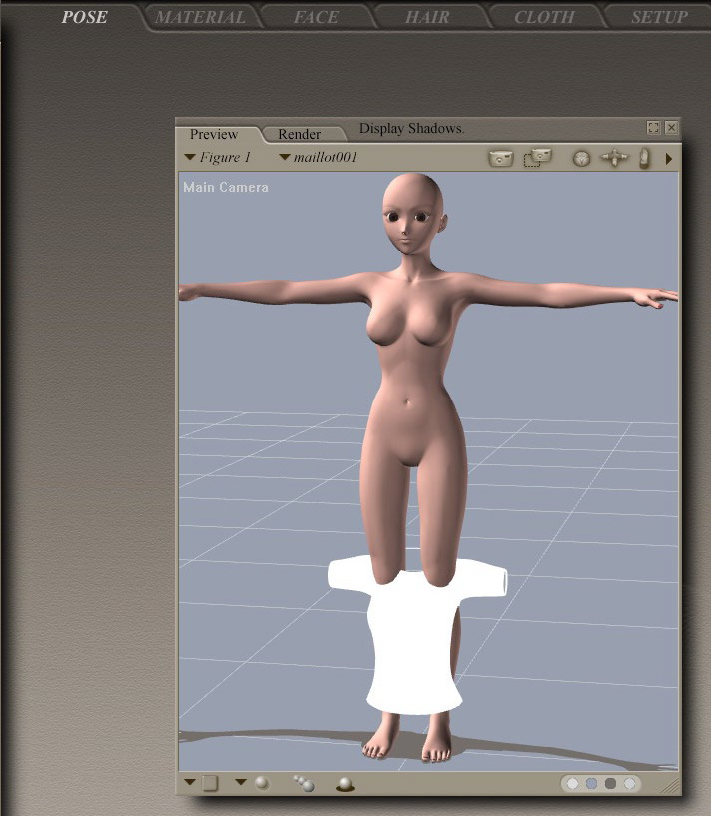
The clothing appears.
Create the Clothing in Poser

If it is all white, just go to the Material Room and choose each part to restore the color.
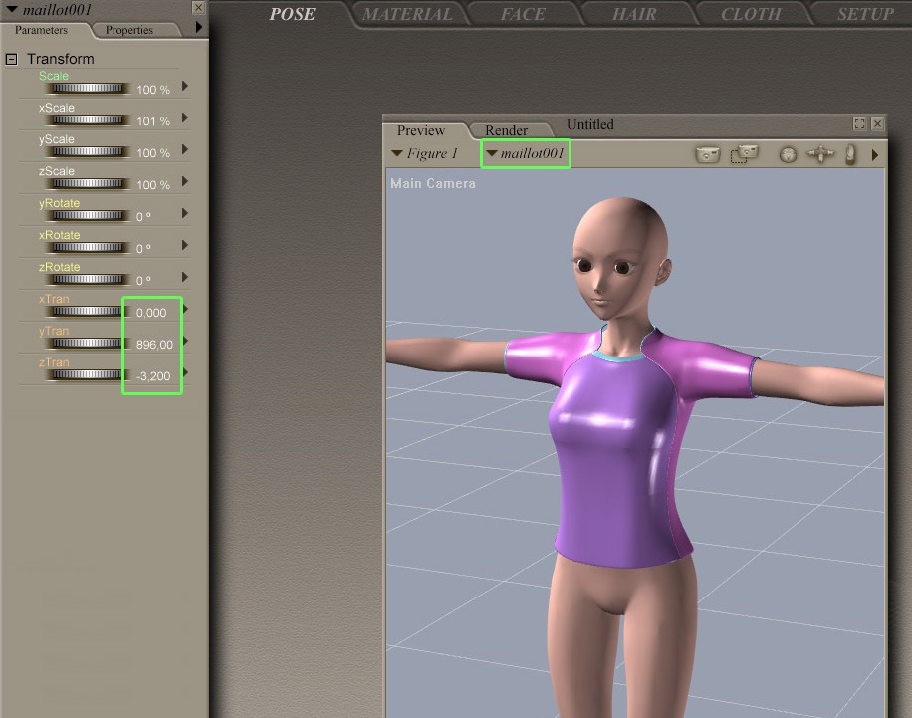
We may need to move the clothing and fix the scale a little, if necessary. Once it’s done, you can write the coordinates, as they will be the same for all other clothes, shoes, pants, etc.

With the clothing selected, we can go to the Setup Room.
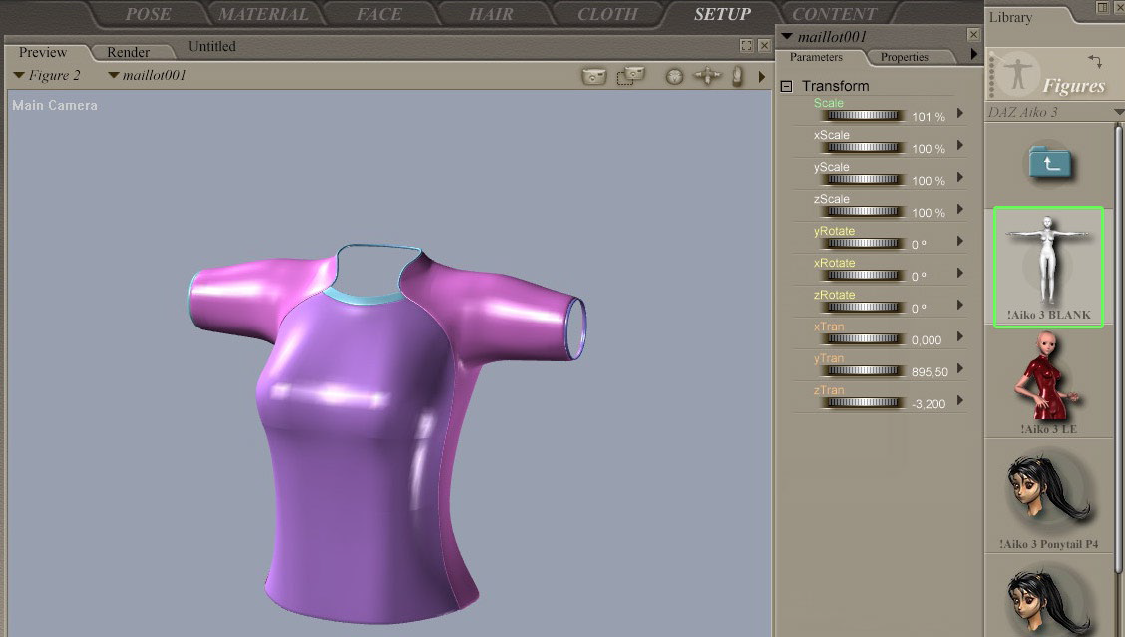
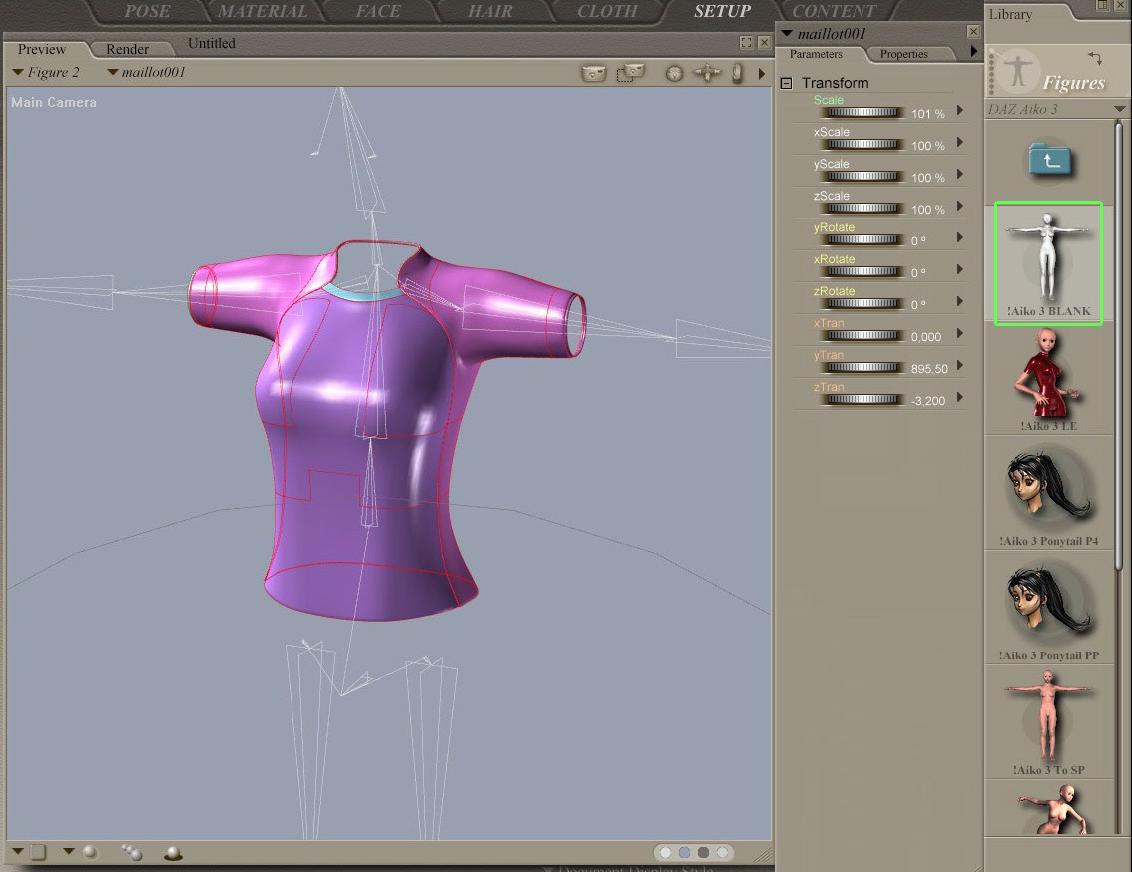
We only need to load the bones of the present character, and the bones appear.
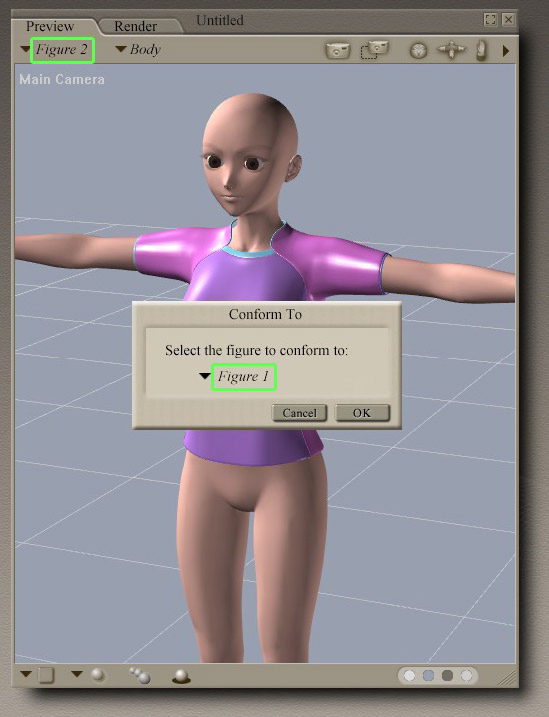
Go back to the Pose Room.
The “prop” became a “figure” that we can now conform (Figure > Conform To).
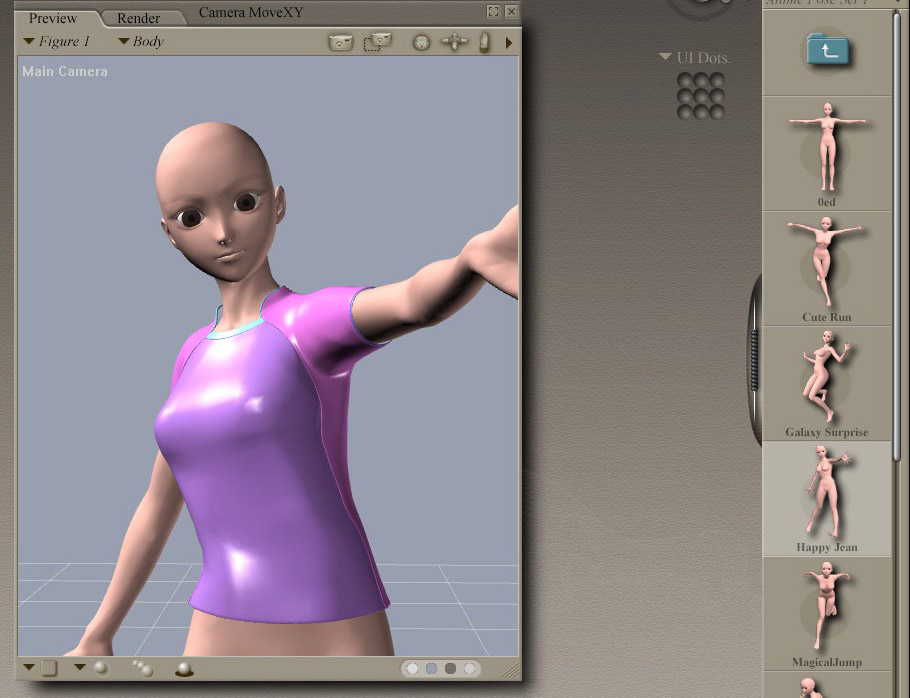
Of course some adjustments are needed but the main part is done!
And Voila.
Page Tools
Except where otherwise noted, content on this wiki is licensed under the following license: CC Attribution 3.0 Unported
