User Tools
Site Tools
Sidebar
Carafe
A tutorial by Thomas Roussel.
This tutorial, called “Carafe” will show you the basics of surface modeling, as well as some utilities.
Note: This tutorial has been made in Hexagon 1.2, but works the same in Hexagon 2.
The Video
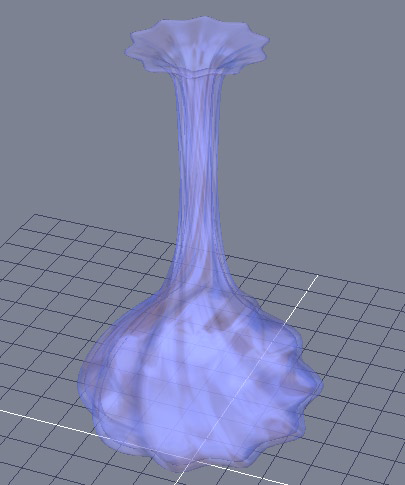
The Finished Product
Explanation of the Important Steps

Before you start, choose Full DG in the Dynamic Geometry palette.
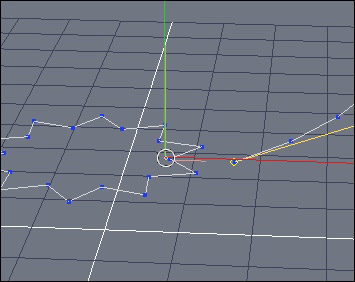
To start off the carafe, you will first make the curves that will construct it. A section (the base) and a profile will be needed. For the section, start off with a circle, and select one point out of two using the 1/n tool, in Select point mode.
With the scale manipulator, change the scale to make a star shape.
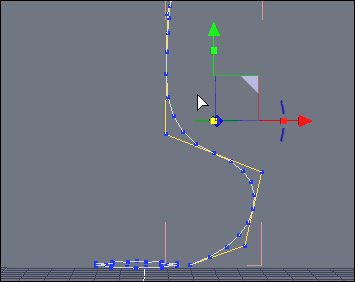
Draw a profile with the curve tool: you will be able to come back and edit the curve later, thanks to the Dynamic Geometry.
Once these two curves are finished, you will connect them for a better extrusion.
Select the profile, then the Snap/align tool. Click on the point at the base of the profile, then on one of the quarter points of the base circle. The profile snaps to it!
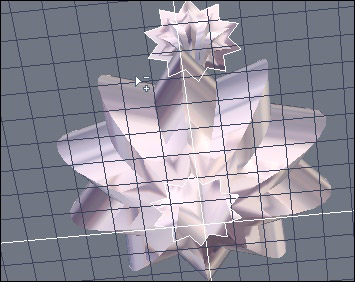
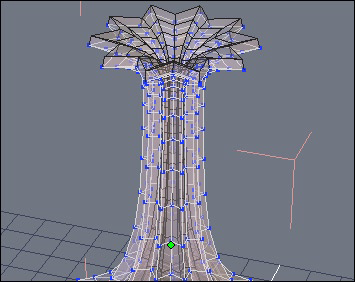
Select the base section, then select the Extrude tool, then click on the profile. The form appears. Before validating the tool, click under the carafe on the white outline that indicates an opening, to close the bottom. Validate the tool.
To further modify the control curves of your carafe, use the Stretch tool, in the Utilities tab.
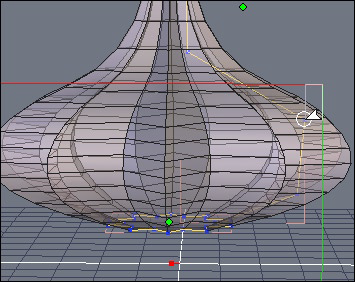
To make the carafe more realistic, you can give it a constant thickness by selecting the Thickness tool.
Validate the tool after you choose your thickness with the +/- keys.
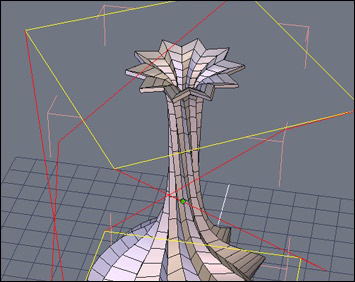
Now, apply a deformation to your carafe. Select the Twister tool, and move the yellow rectangle on the top of the bounding box to twist it a bit.
If you want, use the other deformation tools: Taper and Bender.

A final touch is to add some smoothing to give your carafe a softer look, with less polygons visible.
If necessary, add a material to your object.
Page Tools
Except where otherwise noted, content on this wiki is licensed under the following license: CC Attribution 3.0 Unported
