Table of Contents
DAZ Studio 4.x
- QuickStart Guide PDF
- User Guide PDF
This page is a WIP. There are likely to be incomplete and or missing steps while the page is being built.
In order to change anything in your scene you first need to select it. In this tutorial you will learn the different ways to select items in your scene.
Things you may want to review before preceding.
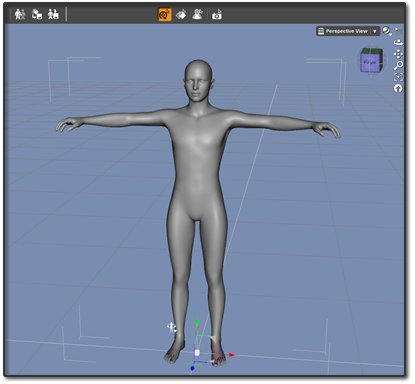
Using the Universal Tool, Left-clicking once on an item in your scene, you will select that item or a portion of it, depending on your settings and whether the item is already selected. The first time you click will select the entire item as shown in the first image here. If you have already selected the item, the second time will then select the Nodes you click directly. In this example, we selected the Abdomen on Genesis.
If you hold the CTRL Key (CMND on the MAC), while clicking the items, you can multi-select more than one item at a time within the scene.

NOTE: The results are dependent on your selected tool. With the Region Selection or Surface Selection Tools, for example, you will select only those Regions or Surfaces you click rather than the whole figure.
 Double-clicking an item will select the entire item. If you hold the CTRL Key (CMND on the MAC), while double-clicking the items, you can multi-select more than one item at a time within the scene.
 Right-click an item in the scene and select the item or portion of the item you want to select.
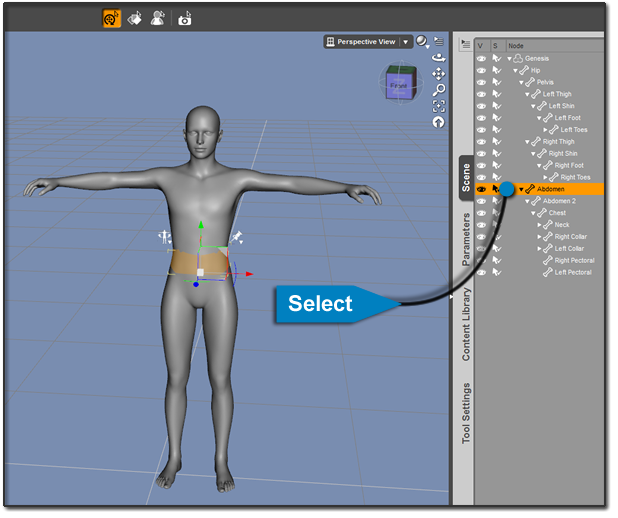 Within the Scene Pane, you can select any item by Left-clicking it. To select a specific part of an item, click the arrow next to that item to expand the Scene Tree. Continue doing this until you have access to the desired part you want to select. Here we drilled down to a finger on Genesis.
Here are more articles you may find useful:
