Table of Contents
DAZ Studio 4.x
- QuickStart Guide PDF
- User Guide PDF
* = Review
The Transfer Utility provides a streamlined method of rigging conforming clothing and accessories.
Follow these steps to use the Transfer Utility to transfer rigging from a TriAx™ weightmapped figure (e.g. a Genesis™ figure) to conforming clothing rigged for that figure.
Load the Genesis Base figure into the scene, then import an object to turn into a piece of conforming clothing. This may be relatively low resolution if you plan to use SubD. Material zones should be defined in the modeling program, though there is a method to define surfaces within CCT (see Polygon Group Editor tutorial).
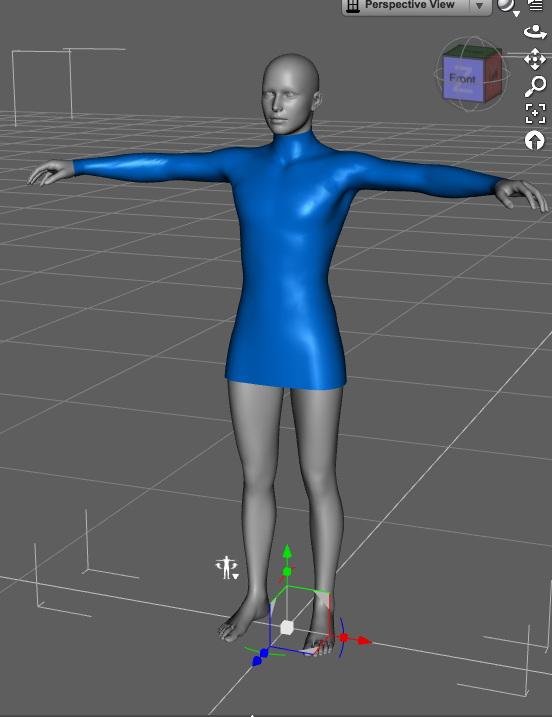
Model is static at this point, not conforming.
To convert your model to a subdivision surface:
Open scene tab options menu and choose: Assets → Transfer Utility.
![]()
In Self Serve layout, Transfer Utility can also be accessed by clicking the following icon on the right edge. ![]()
Optionally, choose a Projection Template. These are simple clothing and hair items with weight maps that are optimized for the item type.
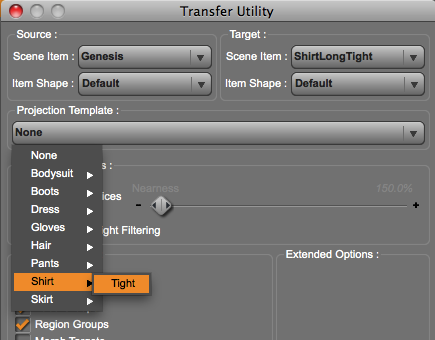
![]()
More detail about these options is provided in the Reference Manual:
Click Accept
All groups, associated bones, weight maps, and skin bindings are copied from the source figure to the target item.
![]()
If you did not click “Fit To Source Figure”:
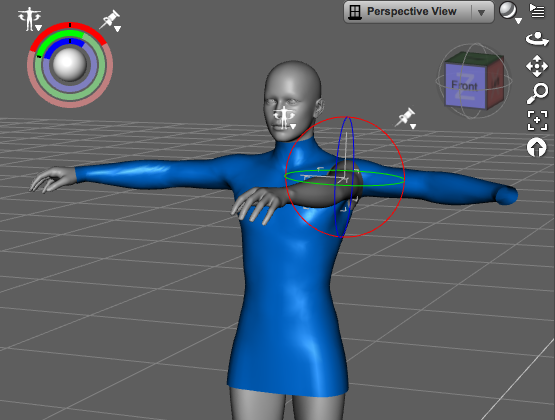
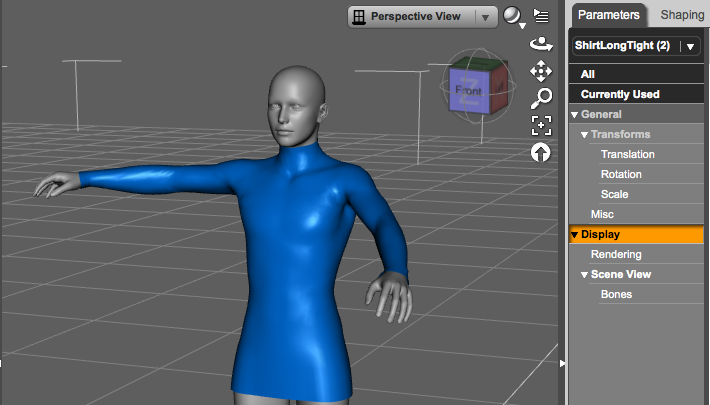
The item is now conformed and moves with the figure:
The item currently does not include morphs:
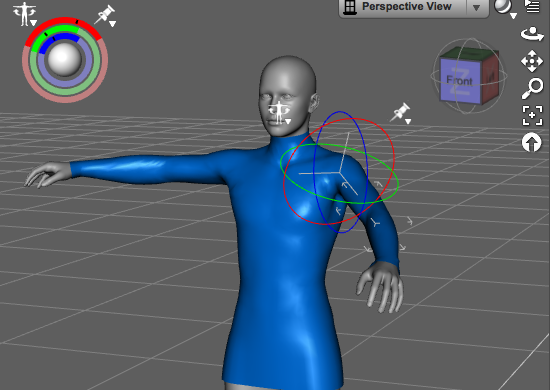
These will be auto-generated by DAZ Studio 4 as needed to fit the underlying figure. Select the figure and dial a shape:
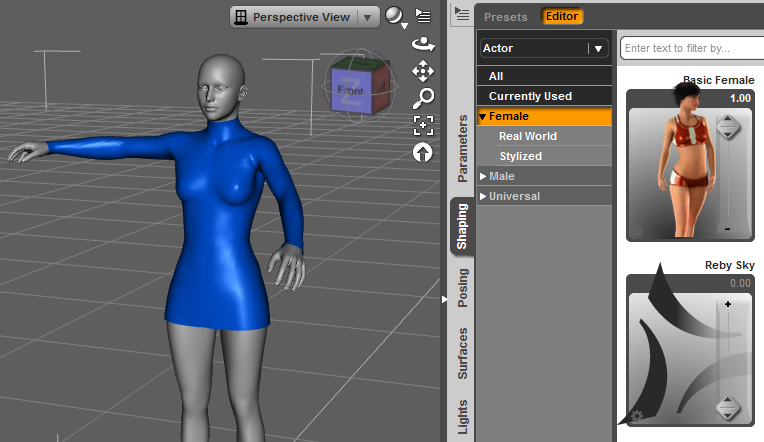
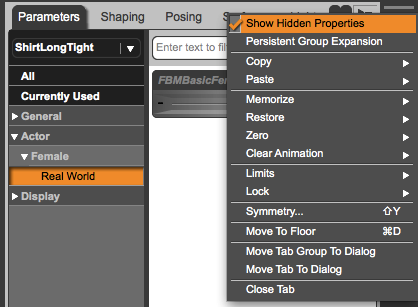
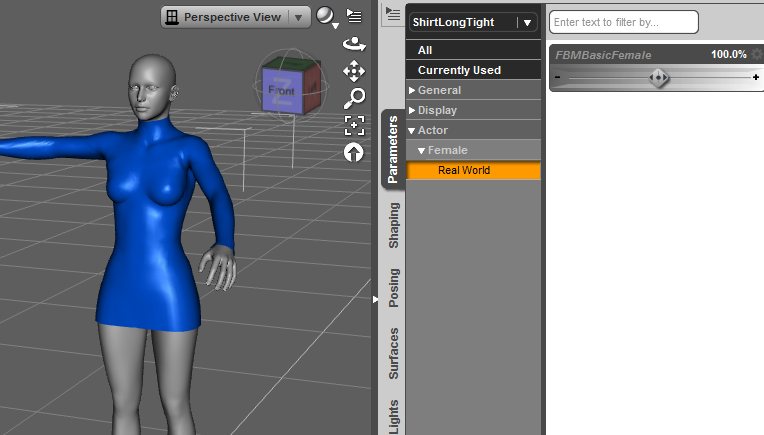
The conforming item is morphed along with figure and a morph dial is added to the item in the Actor section. Note: To see the morph in the conformed item, you must enable Show Hidden Properties in the Parameters Tab:
Don't forget to save your work! TriAx™ content needs to be saved in DSF format to retain critical information specific to the TriAx™ model, including regions and weight maps.

Next, enter the following information:

This process creates only a basic rigging for your figure. You will need to test your figure in several standard poses and several shape configurations (if applicable) to see what morphs, weight maps, etc. need to be adjusted.
