Table of Contents
DAZ Studio 4.x
- QuickStart Guide PDF
- User Guide PDF
* = Review
DAZ 3D recommends modeling to the Genesis base figure when possible, but acknowledges that some clothing will be more difficult to model on an androgynous figure, as it would be too hard to imagine what the garment would look like on a gendered or specific figure. It is possible to model the OBJ on on your intended shape, convert back to the Genesis™ default shape, and correct the morph as appropriate.
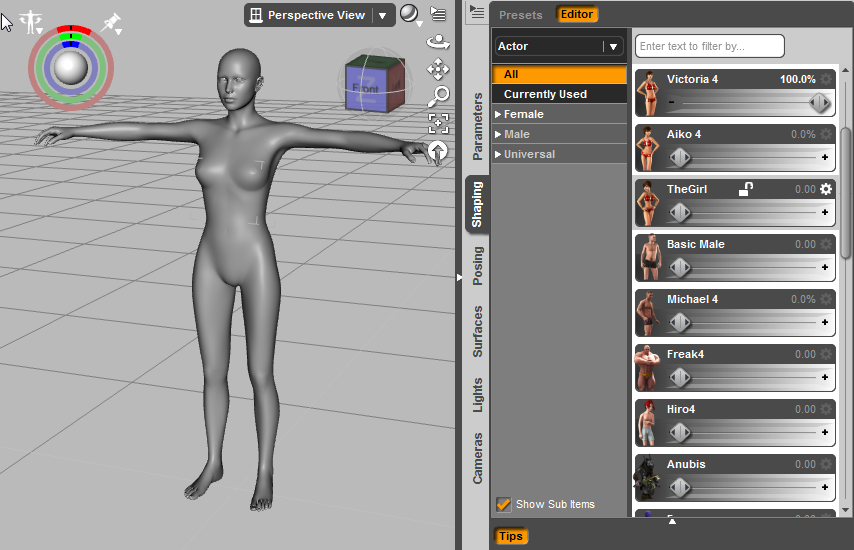
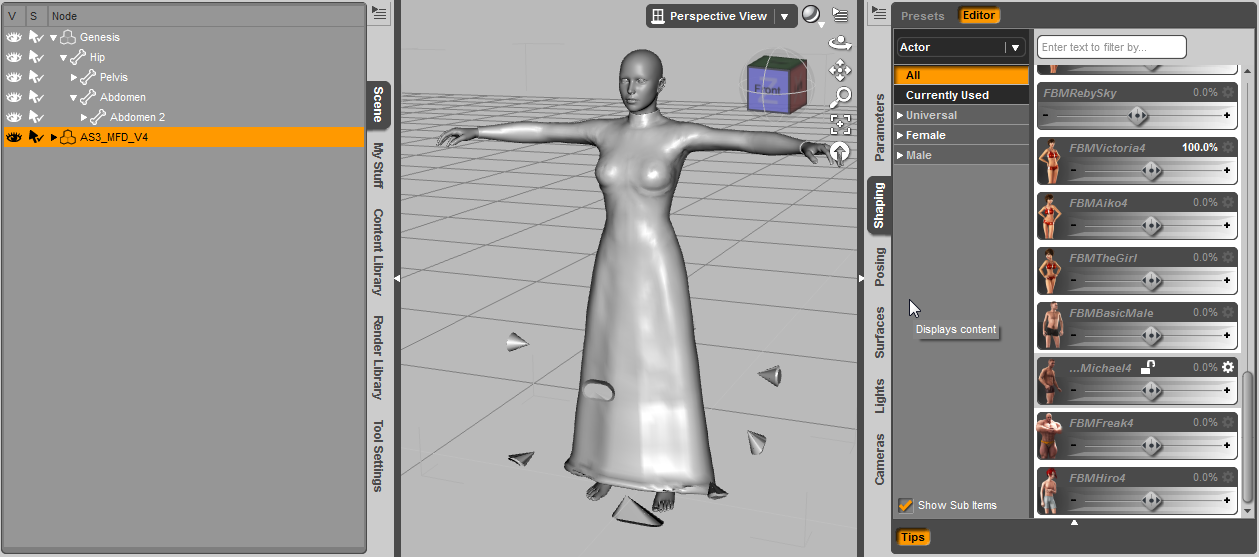
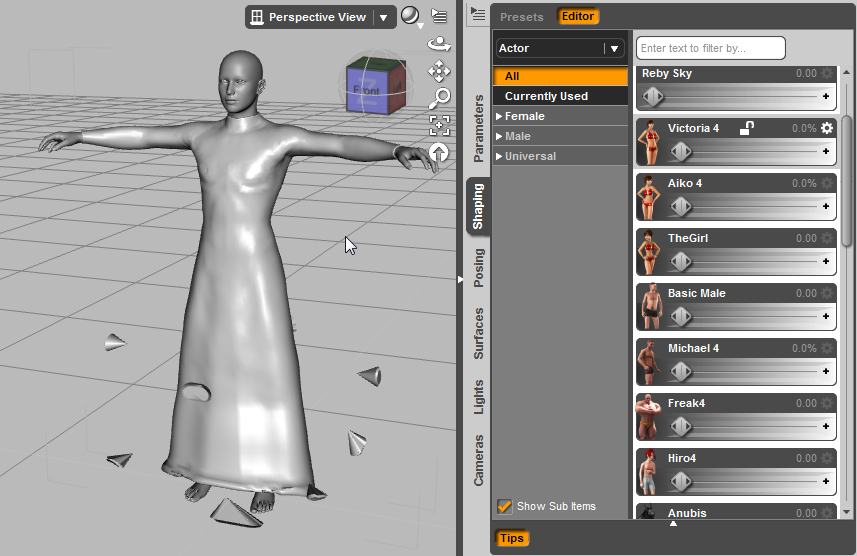
Start by loading the default figure. Dial up a shape such as Basic Female (or any other shape).
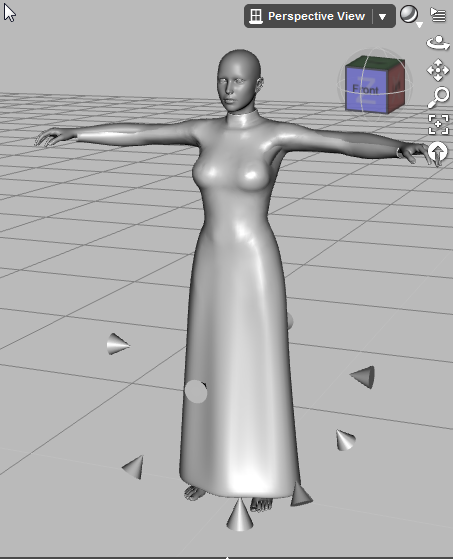
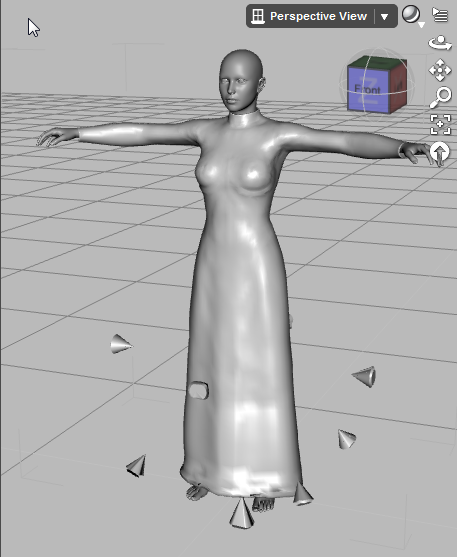
Import your clothing, which has been modeled (or modified) to fit this shape. In this example, I am using the Morphing Fantasy Dress for V4.
If you use the Transfer Utility's default settings to rig this item, Studio assumes that it fits the default Genesis base, which isn't right.
To use the Transfer Utility against a shape, rather than the default, select Genesis as the source, your clothing model as the target, then set Source Item Shape → Morph

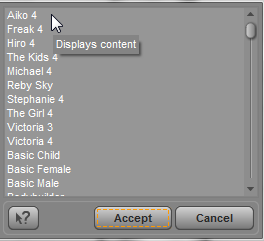
Select your Morph Target figure from list. This list is populated with all of the Gene Pool shapes you currently have installed, including your own custom shapes.
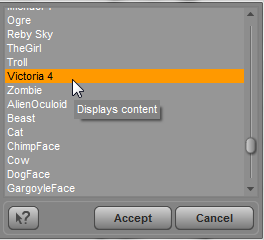
In this case, we click Victoria 4. (Note: you can fit clothes to the “Clone” shapes used by AutoFit if you have that product. In that case, select Item Shape: Clone, would be for one of their defined shapes)
You may also wish to select a Projection Template. This is optional, but will provide custom weight maps based on a simple example figure that has been optimized rather than using the weight maps from the figure itself.
In the Transfer Utility dialog, Click Show Options. Also click “Add Smoothing Modifier” and select the content type (Usually something under “Follower/Wardrobe/”.
Click Reverse Source Shape from Target under Advanced.
![]()
Then hit Accept.
In this example, the clothing roughly fits the V4 shape and you can also dial back to the default Genesis shape. Although the clothing will adjust to fit, distortion is introduced because the Transfer Utility has subtracted the V4 morph and added it back in again.

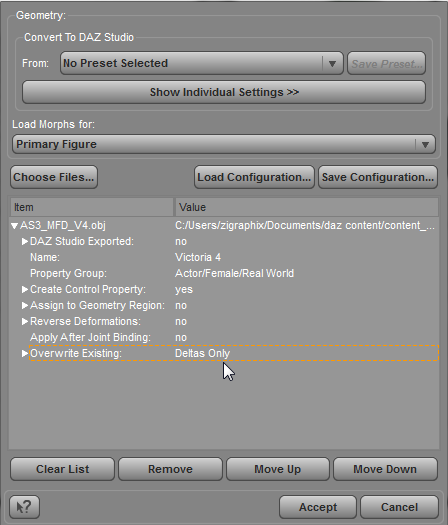
To correct the reverse morph fit, re-load the original modeled obj for the Genesis shape you started with.
Use Morph Loader to re-load original shape of clothing, paste morph internal name, make-unique to Deltas Only. Cleans up original shape, but when you shift back to Genesis shape, still kind of warped.
DAZ Studio uses a feature called Auto-Follow to match conforming objects to base TriAx™ figures. By default, DAZ Studio is set to not auto-follow clone shapes like V4. You can change this by opening the Property Editor (WIP), and selecting Actor→hidden→cloneVictoria4, then right-click to set auto-follow to On.

Unfit the clothing item, then refit, then when we dial V4 it morphs. We may still get some warping. Can reload original V4 shape as morph target to correct that, using Morph Loader Pro.
If you add a smoothing modifier to non-base shape, it actually rumples. This is because DAZ Studio is trying to smooth back to base shape, but that's the projected shape. Go to parameters, turn mesh smoothing off.
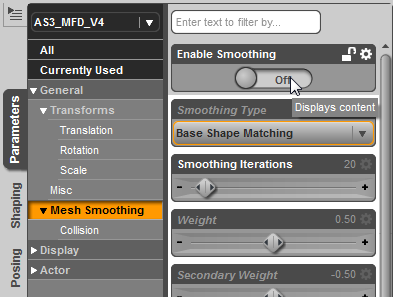
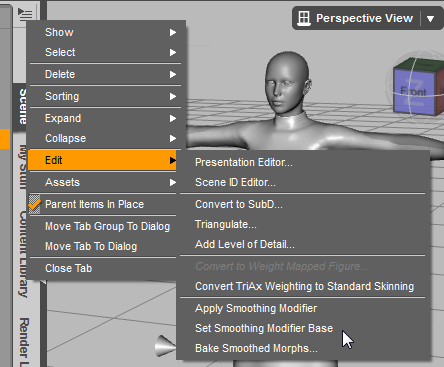
Select clothing, right click, edit, set smoothing modifier base to the morph you are using.
Then turn mesh smoothing back on.
This might even help Genesis base shape smoothing for this item. Try turning up smoothing iterations, that may also improve base shape. Can export that shape and tweak, re-import as MT.
There is a new “rigidity” weight map to avoid distorting rings, buttons, etc. Rigid parts could move, but not change shape. Here, we will use theWeight Map Brush to set the skirt handles to Rigid.
Under Unused Maps, select Rigidity and Add Map. Activate Polygon Group Editor tool. Edit rigidity groups, add “Handles.” Add vertices to this rigidity group. Back in Weight Map Brush, with selection, right click, Fill Selected Faces… with 100%.
(Note– I'm clearly missing a step here, because this isn't working.)
The better the conforming item fits the Genesis base shape, the better it will fit other shapes from there. Extreme shapes will probably still require specific morphs for clothing. Test with Heavy. (Troll is too extreme.)
Shape will follow posed character better with Genesis than previously. Not so much polygon drift with the dynamic projection, because DS does a good job keeping clothing mesh with the skin it goes with.
